Hello my crafty friend. How are you today? I hope all is well with you and yours. I decided to do this tutorial because on occasion I receive personal messages from the wonderfully talented ladies over at the cricut msg board wanting to know if I will share my cut file for the cakes in a box. About 4 yrs ago now I saw a cake in a box that someone made and they said they used the sizzix die for the cake. I loved this idea and decided I needed to make cakes in a box as well. However, I couldn't find the die any where. Luckily I had Design Studio and decided I would design my own template to make the cakes. I placed 3 circles on the mat in the bottom 6X6 square. 3" 2.5" and 1.75". In the top half of the mat I placed 3 rectangles 1.25" deep each at 10.25", 8.25" and 7.25". I haven't used this file for quite some time as I just make the strips by hand now and cut out the circles with my spellbinders dies, so I am not sure how much too long these are, but better to long than to short right. I just cut off the excess triangles, tuck in side and glue. Along the top edge of these rectangles I welded tiny triangles. After removing my cuts from the mat, I score the rectangles along the edge where the triangles meet the edge and fold all the triangles down. I then carefully glue these triangles to the very edges of the circles to make the layers for the cake. Then glue them on top of each other and decorate.
For the box: take a 12X12 sheet of desired CS, I score on two sides at 4" and 8", then cut out the four corners. You can leave them attached but the box doesn't fall open to get the surprise effect. Now the lid is basically at your discretion as long as the inner square is 4" or slightly bigger, its up to you how deep you want the sides to come down the box. I usually will take a 6X6 or 7X7 square, and score at either 1" or 1.5" on all sides as well as at the 4" mark. For the 4" mark I line up my paper then move it very slighly to the left before scoring just to give it a little bit of room so it isn't to tight. This depends on the thickness of your choice of CS also. If it is thinner weight you don't really need to do this, but with thinner CS the sides sometimes tend to bulge out.
I have added a couple pics for this tutorial but the circles were made with spellbinders dies and the strips were done by hand but it is the same thing, and the result is the same. I am including them so you have a visual of my description. The yellow scalloped circle goes under the doilie so that some of the chosen colour shows through under the cake itself. This is a preference, and is not necessary.

 This is the cake I made with these strips and circles....
 I need to remember to glue all the glass seed beads on before adding the flowers so they will be straight all the way around. To change it up a bit I had a ribbon that has a pretty scalloped edge on each side and a plain strip down the middle, I cut the edges off and glued to the cake instead of the seed beads. The decorating ideas are endless I think, its like decorating an actual cake for me, as I used to be a cake decorator yrs ago. I like these better, no body cuts a big chunk out and ruins its beauty. LOL LOL This particular cake in a box still isn't finished. The cake topper I make by glueing a double heart charm on a strip of pkging the carts come in. When dry I cut around the charm and make the lower part slighly narrower than the widest width of the charm. Cut this section up the centre, and fold these two strips in opposite directions. I cut another circle for the top of the cake and put a slit in the very centre, put these strips through the slit together and refold them in opposite directions. Then glue this whole piece to the top of the cake. Then add the seed beads to conceal the second layer on the top piece. I hope this makes sense as I didn't take any pics for this step.
I hope you enjoyed and understand this tutorial, if you have any questions I'd be happy to answer them. I would love it if you share pics of your creations with my tutorial. You can email them to me at cynpot@gmail.com.
Thank you for stopping by my blog today, I hope your having a scrap happy kind of day :)
Cindy
For the box: take a 12X12 sheet of desired CS, I score on two sides at 4" and 8", then cut out the four corners. You can leave them attached but the box doesn't fall open to get the surprise effect. Now the lid is basically at your discretion as long as the inner square is 4" or slightly bigger, its up to you how deep you want the sides to come down the box. I usually will take a 6X6 or 7X7 square, and score at either 1" or 1.5" on all sides as well as at the 4" mark. For the 4" mark I line up my paper then move it very slighly to the left before scoring just to give it a little bit of room so it isn't to tight. This depends on the thickness of your choice of CS also. If it is thinner weight you don't really need to do this, but with thinner CS the sides sometimes tend to bulge out.
I have added a couple pics for this tutorial but the circles were made with spellbinders dies and the strips were done by hand but it is the same thing, and the result is the same. I am including them so you have a visual of my description. The yellow scalloped circle goes under the doilie so that some of the chosen colour shows through under the cake itself. This is a preference, and is not necessary.

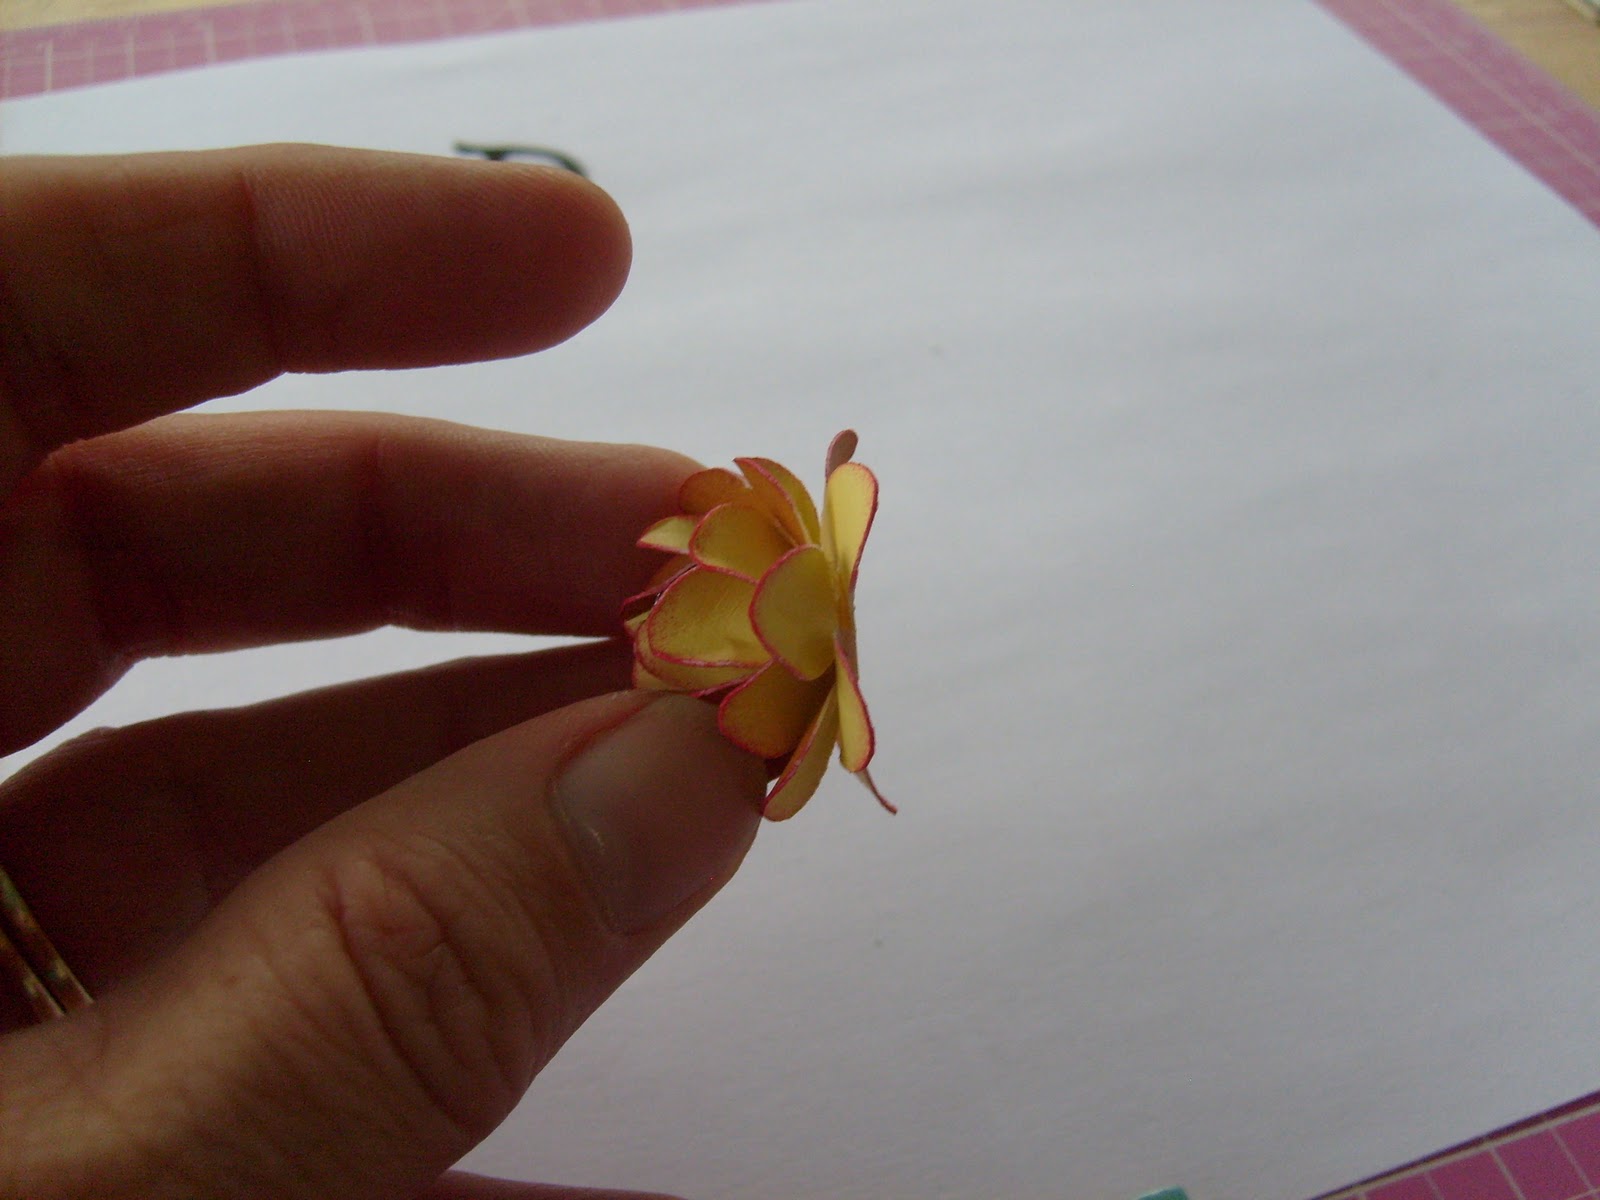
This pic has the yellow and white quilled roses I made for the cake, but I didn't use them, as the bride isn't having any roses in her wedding so I used other flowers for the cake.


I hope you enjoyed and understand this tutorial, if you have any questions I'd be happy to answer them. I would love it if you share pics of your creations with my tutorial. You can email them to me at cynpot@gmail.com.
Thank you for stopping by my blog today, I hope your having a scrap happy kind of day :)
Cindy