How about a tutorial.....
A few posts ago I told you about the roses I designed so I didn't have to keep punching out the 5 petal flowers I use to make my roses. The ones I cut with my cricut are almost identical to the punch I bought at M's. The great thing about making them with the cricut is you can make them different sizes. YAY! I made this tutorial for all the ladies that hang out at the cricut.com msg board. Almost daily I was getting private msg's asking how I make them, would I be willing to do a tutortial. So I sat down and did one, but it's not a fancy smancy, I don't know how to do those yet, hopefully one day I will :0). Anyway this is an easy to follow tutorial that will have you making beautiful roses for you projects in no time.
Supplies I use, you can use what ever you prefer....these 5 petal flowers are from an EK success punch, they are 1" in size when punched.


 pinch the tips of the petals on 3 flowers up

 bring up and glue the three remaining petals

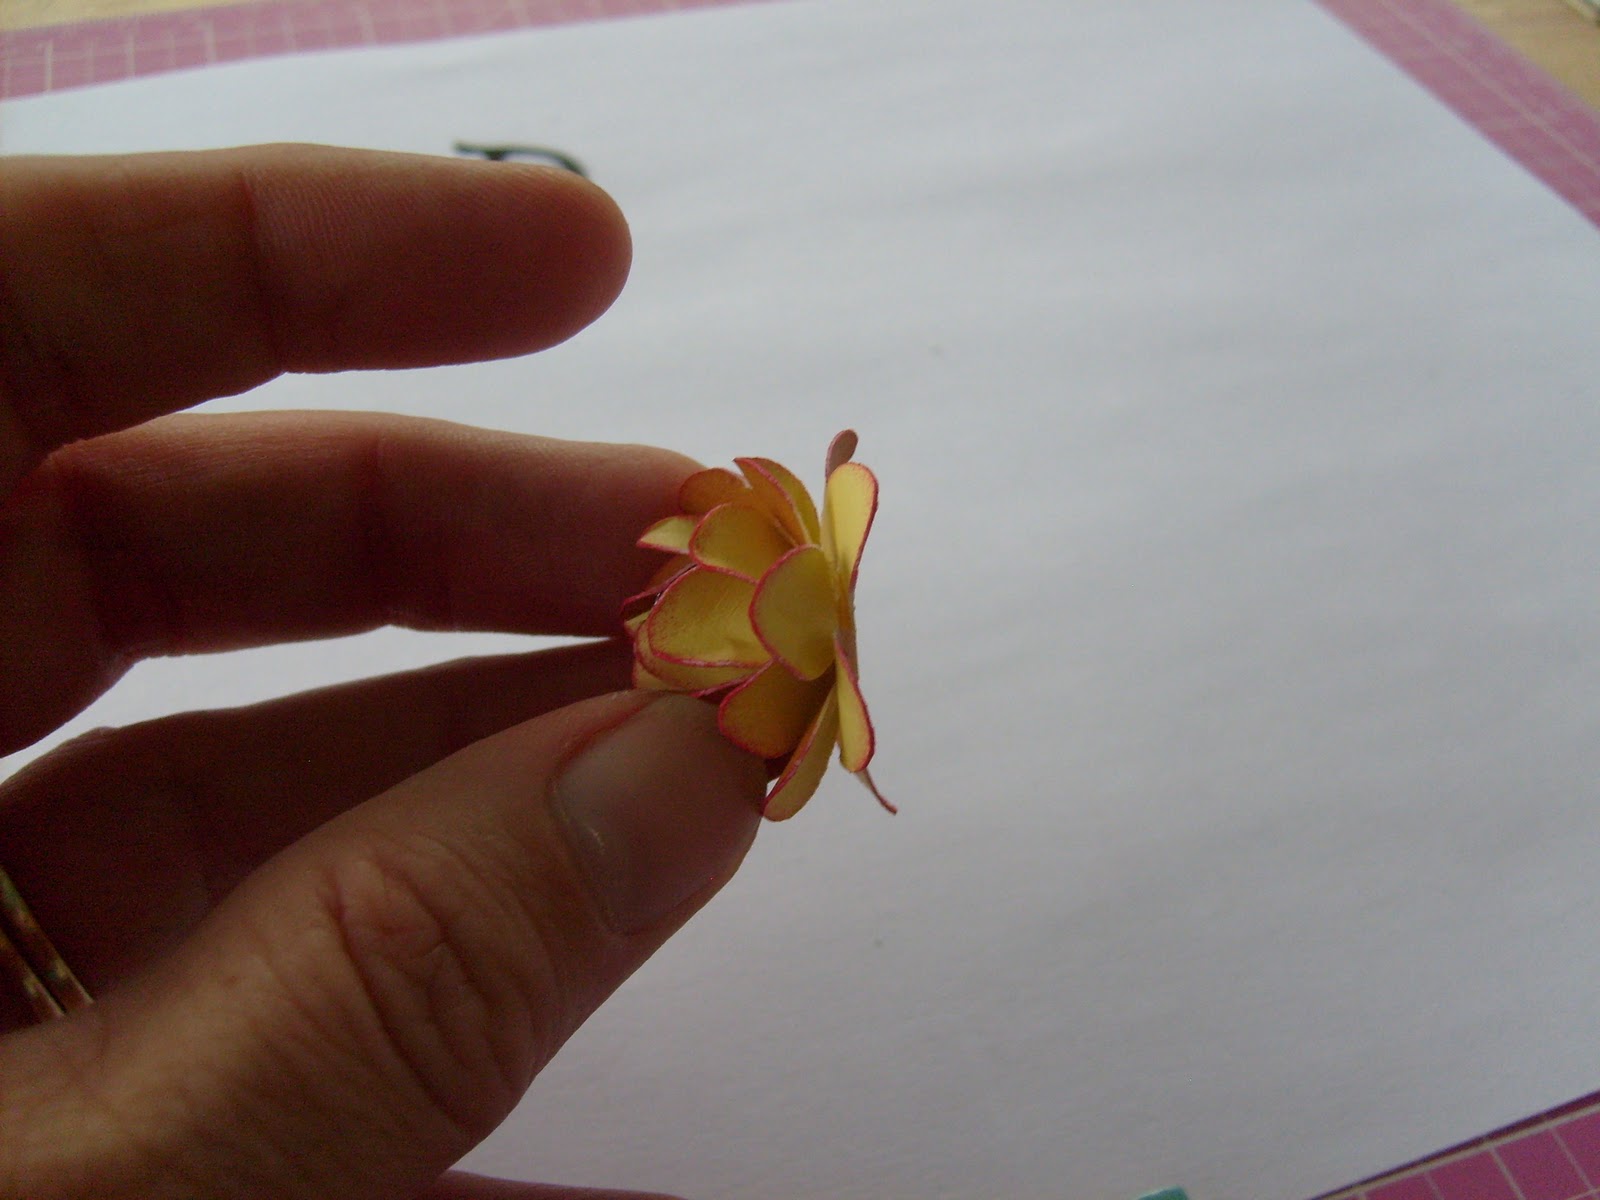
 take one the flowers with the petals pinched up, turn it over so the petals are now pinched downward, and cup it up, add some glue to the narrower ends of the petals and the bottom, attach the bud from the previous step, cup up till glue is set
 it should look like this

 repeat previous step for the 2 remaining petals turning as you go so your petals aren't lined up

 put some glue in the centre of the flower with the petals curled down


 and your finished.....enjoy all your flowers ladies and gents, look forward to seeing your projects with these little beauties!!!! Try them and leave me a comment so I can visit your blog and check them out.
Here's a couple pics of these on cards and an army of roses, lol!


 I hope you liked my easy to follow tutorial, have a great day and Happy Scrappin'!!!!
A few posts ago I told you about the roses I designed so I didn't have to keep punching out the 5 petal flowers I use to make my roses. The ones I cut with my cricut are almost identical to the punch I bought at M's. The great thing about making them with the cricut is you can make them different sizes. YAY! I made this tutorial for all the ladies that hang out at the cricut.com msg board. Almost daily I was getting private msg's asking how I make them, would I be willing to do a tutortial. So I sat down and did one, but it's not a fancy smancy, I don't know how to do those yet, hopefully one day I will :0). Anyway this is an easy to follow tutorial that will have you making beautiful roses for you projects in no time.
Supplies I use, you can use what ever you prefer....these 5 petal flowers are from an EK success punch, they are 1" in size when punched.

curl the petals on one flower down slighly with your piercing tool, or a toothpick or thin paint brush handle, whatever you normally use to get this result

pinch the tips of the petals on one flower down with your tool, or just use your fingers


bring up two petals that arent beside each other and glue them together


Here's a couple pics of these on cards and an army of roses, lol!


What a fantastic tutorial - can't wait to try it. Thanks for stopping by my blog www.moments2scrap.blogspot.com and becoming a follower. I am now following your blog and can't wait to see what else you have :)
ReplyDeleteSamantha
Beautiful flowers and tutorial, thank you for sharing and following my blog.
ReplyDeleteI'm a new follower of your blog now.
Hugs, Lori
gaw-gous cindy tyfs..loves ya
ReplyDeleteCindy, these are beautiful roses. I will definitely try them. Thank you so much for the tutorial. I've just started following your blog. It's gorgeous.
ReplyDeleteWow, these are absolutely AMAZING! I'll have to try this one out! Thanks for visiting my blog and becoming a follower, I love your blog and am now your newest follower, too!
ReplyDeleteHugs,
Naomi
I've never seen them made like this. Beautiful results! I'll need to practice!
ReplyDeletethis is a great way of making flowers and I will def be having a go as I really into making my own at the mo thanks for this
ReplyDeleteJacki xx
YOur tutorial is so well illustrated. I have to try them. I make roses with the same punch in a different way. I love the way you have made yours
ReplyDeleteCheers
Sonia
cardsandschoolprojects.blogspot.com
Thank you so much for this tutorial! I made some up for a recent card and they turned out beautiful! Your instructions are great!
ReplyDeleteEmily L.
www.scrappysweetcreations.blogspot.com
Cindy,
ReplyDeleteThank you for this tutorial, it is really well done. I just joined today with the blog hop, and just had to come back.
Teddie
teddie_grams@hotmail.com